
The Crickit board sold and manufactured by Adafruit is a really powerful learning tool. There is a Crickit board for RPI(Raspberry Pi),CPE (Circuit Playground Express), Feather and Microbit. The Crickit adds functionality that simply is not available with just the previously mentioned hardware. The Crickits firmware called Seesaw, is written in C++ which makes it lightweight, flexible and fast. The board is compatible with Circuit Python, Arduino and Makecode (at least in the near future).
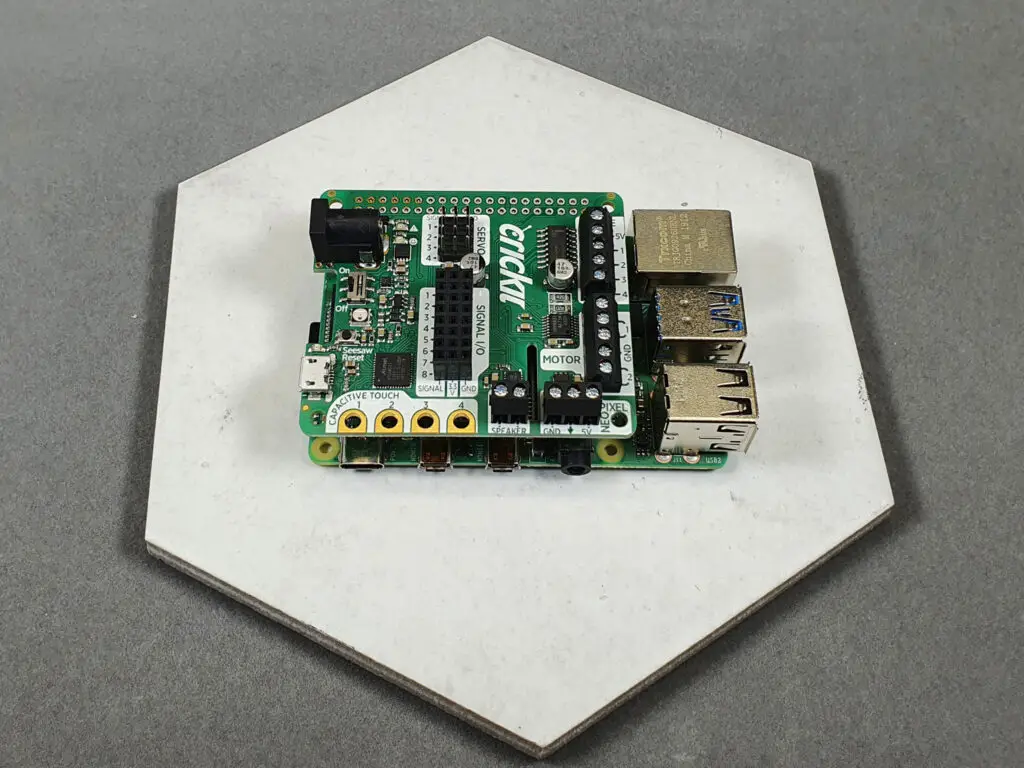
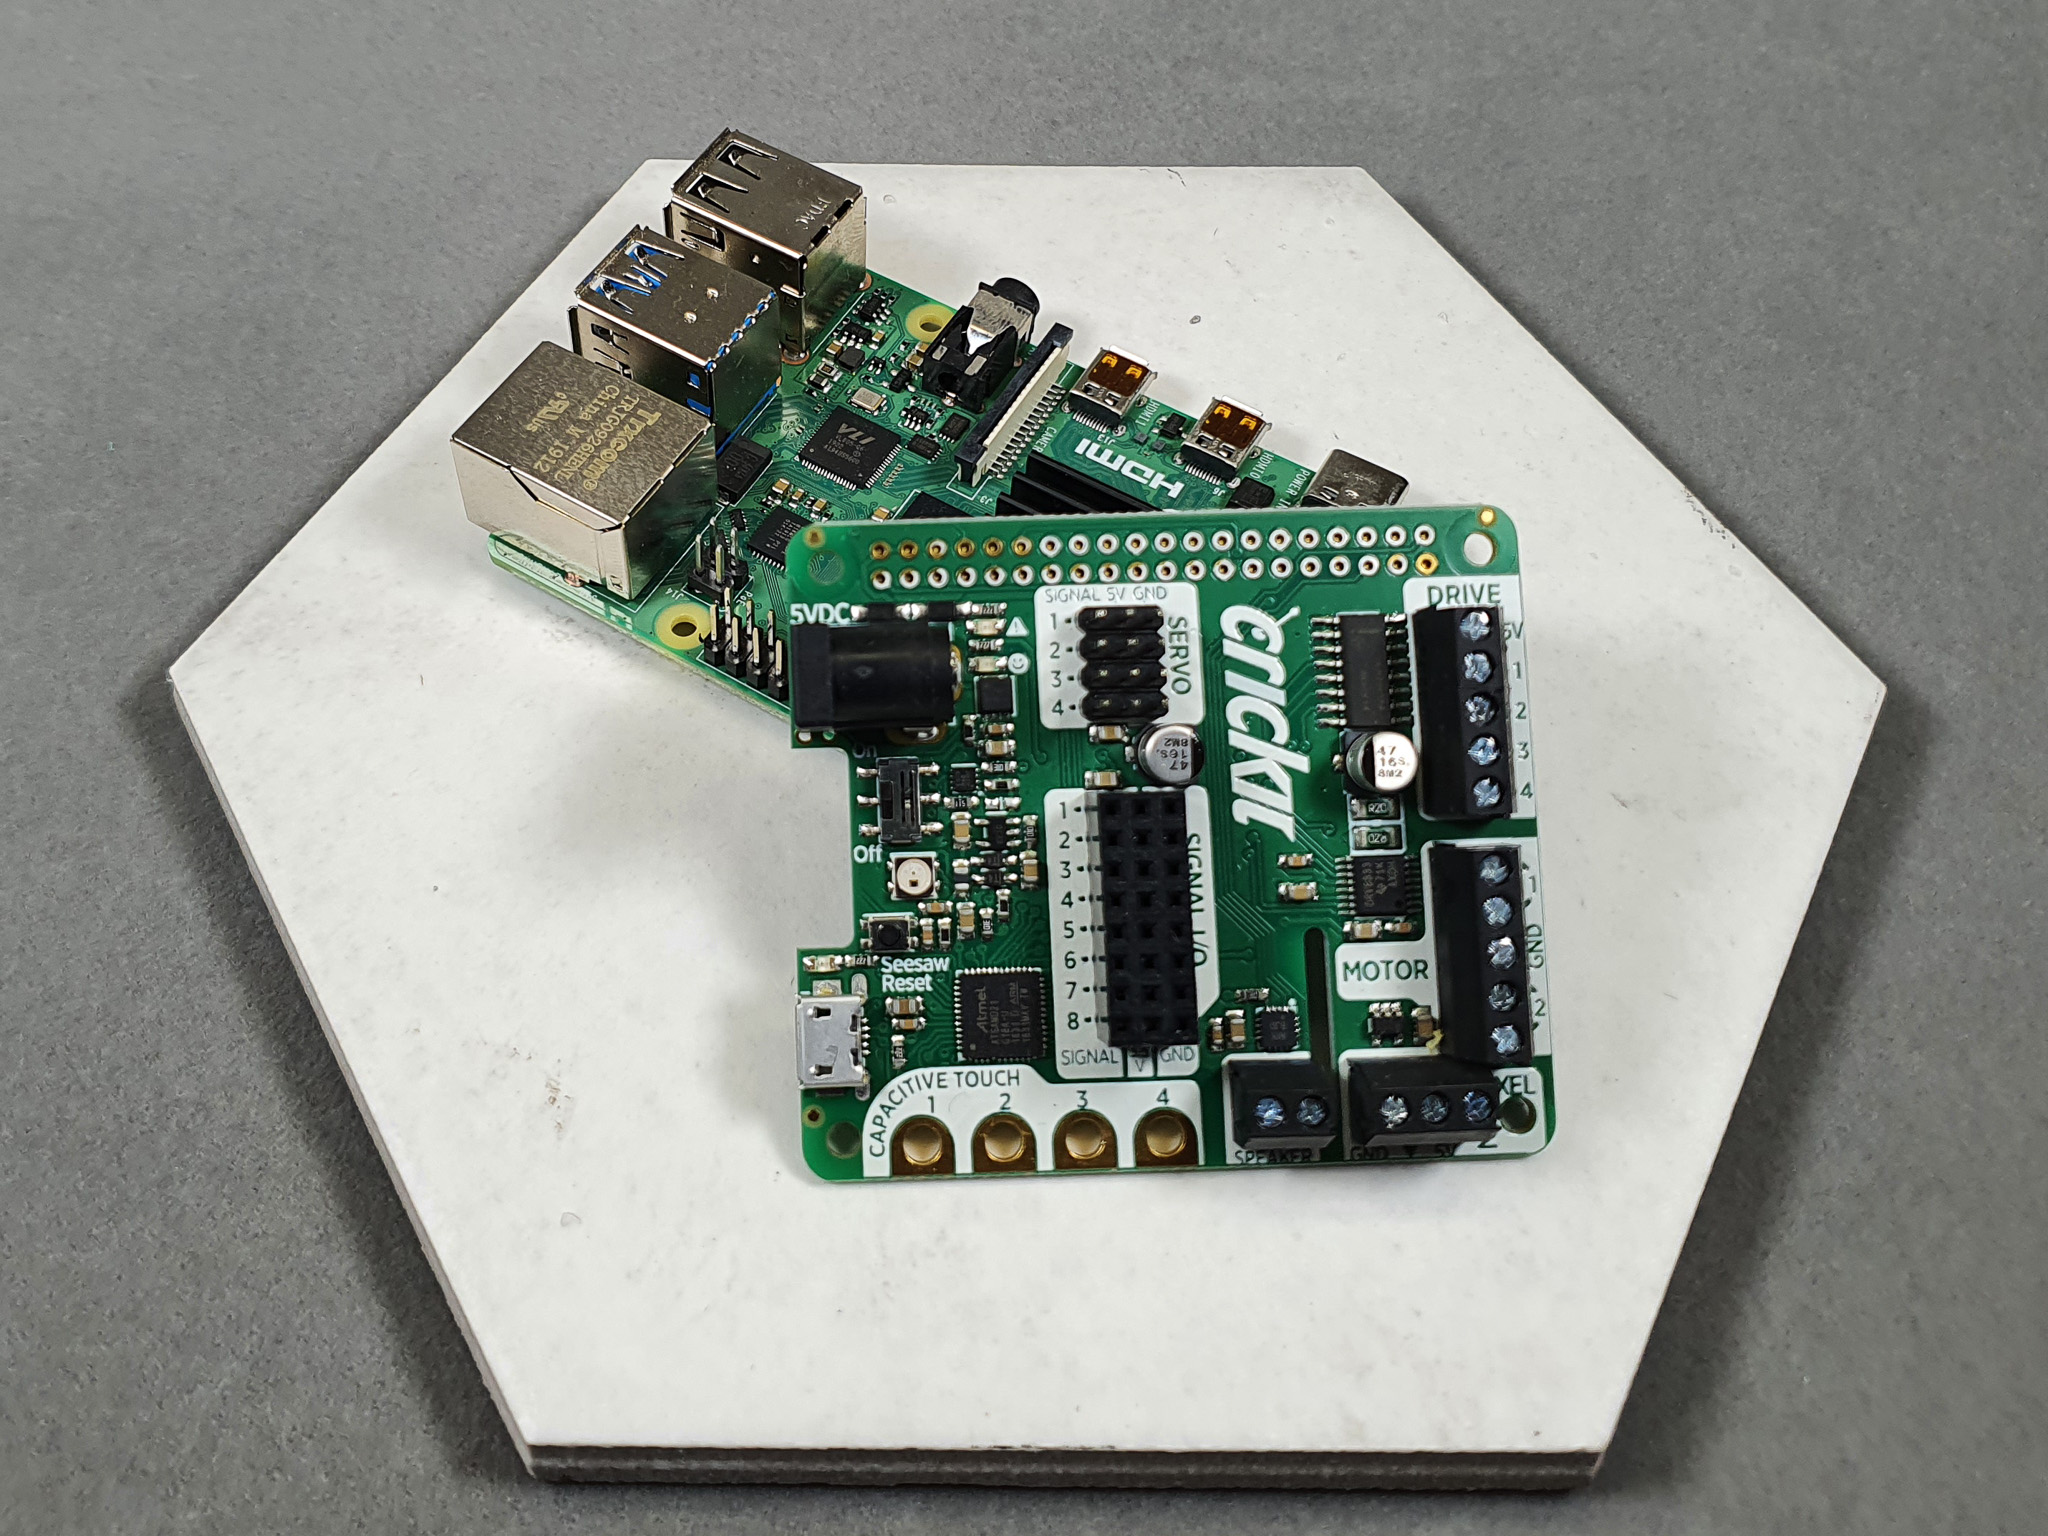
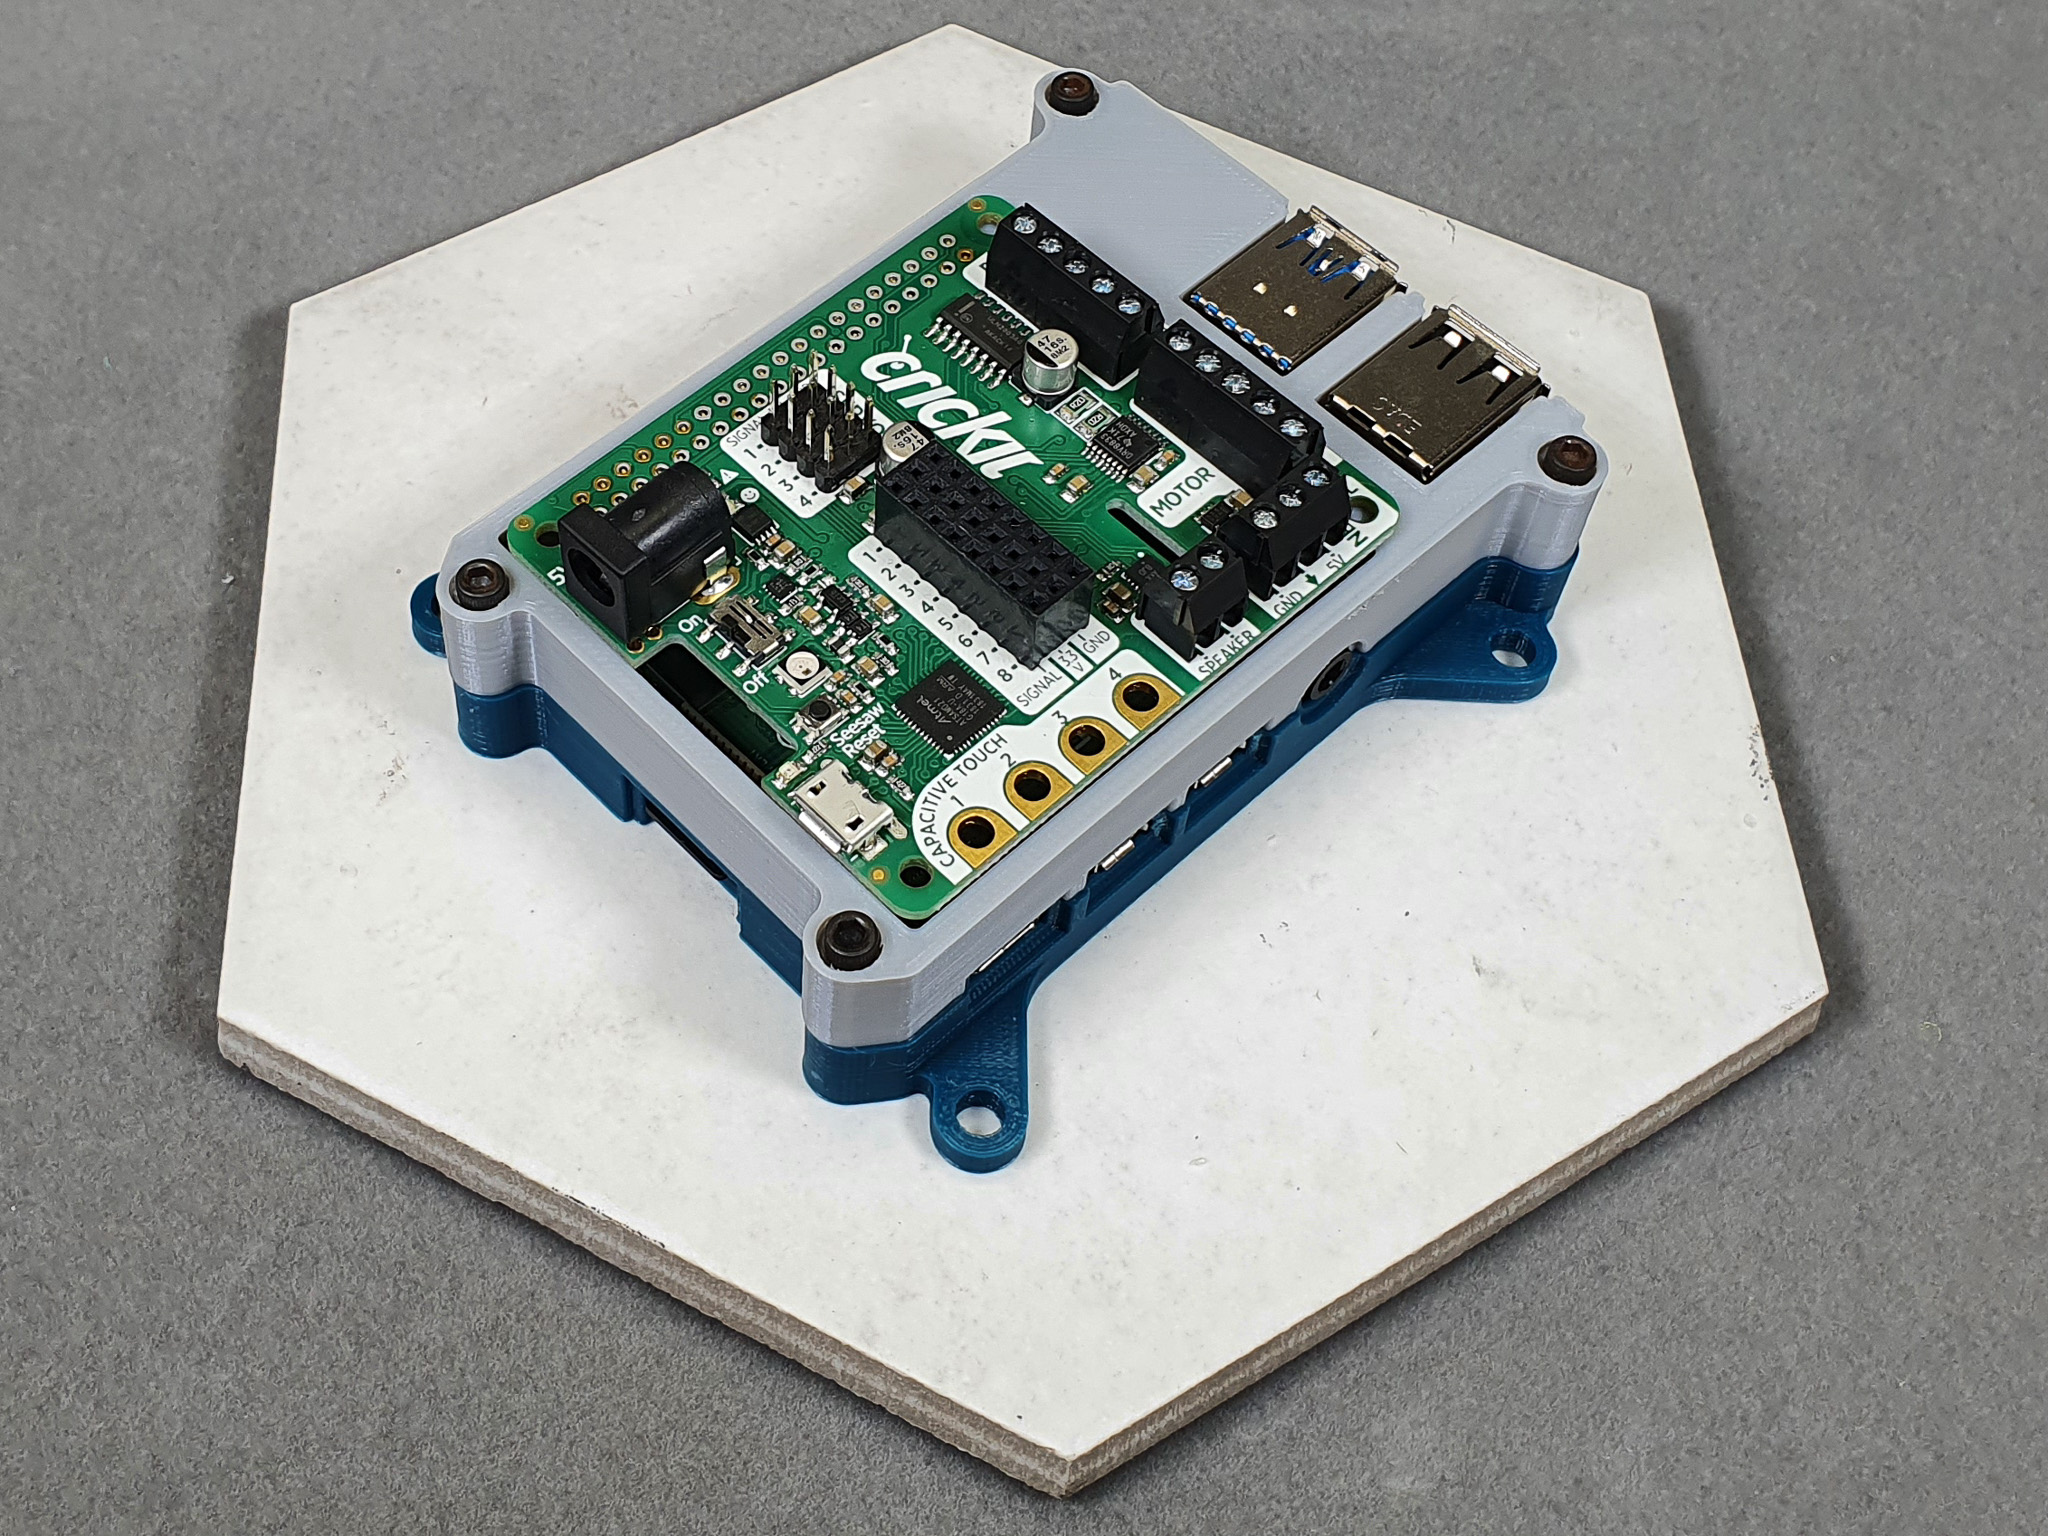
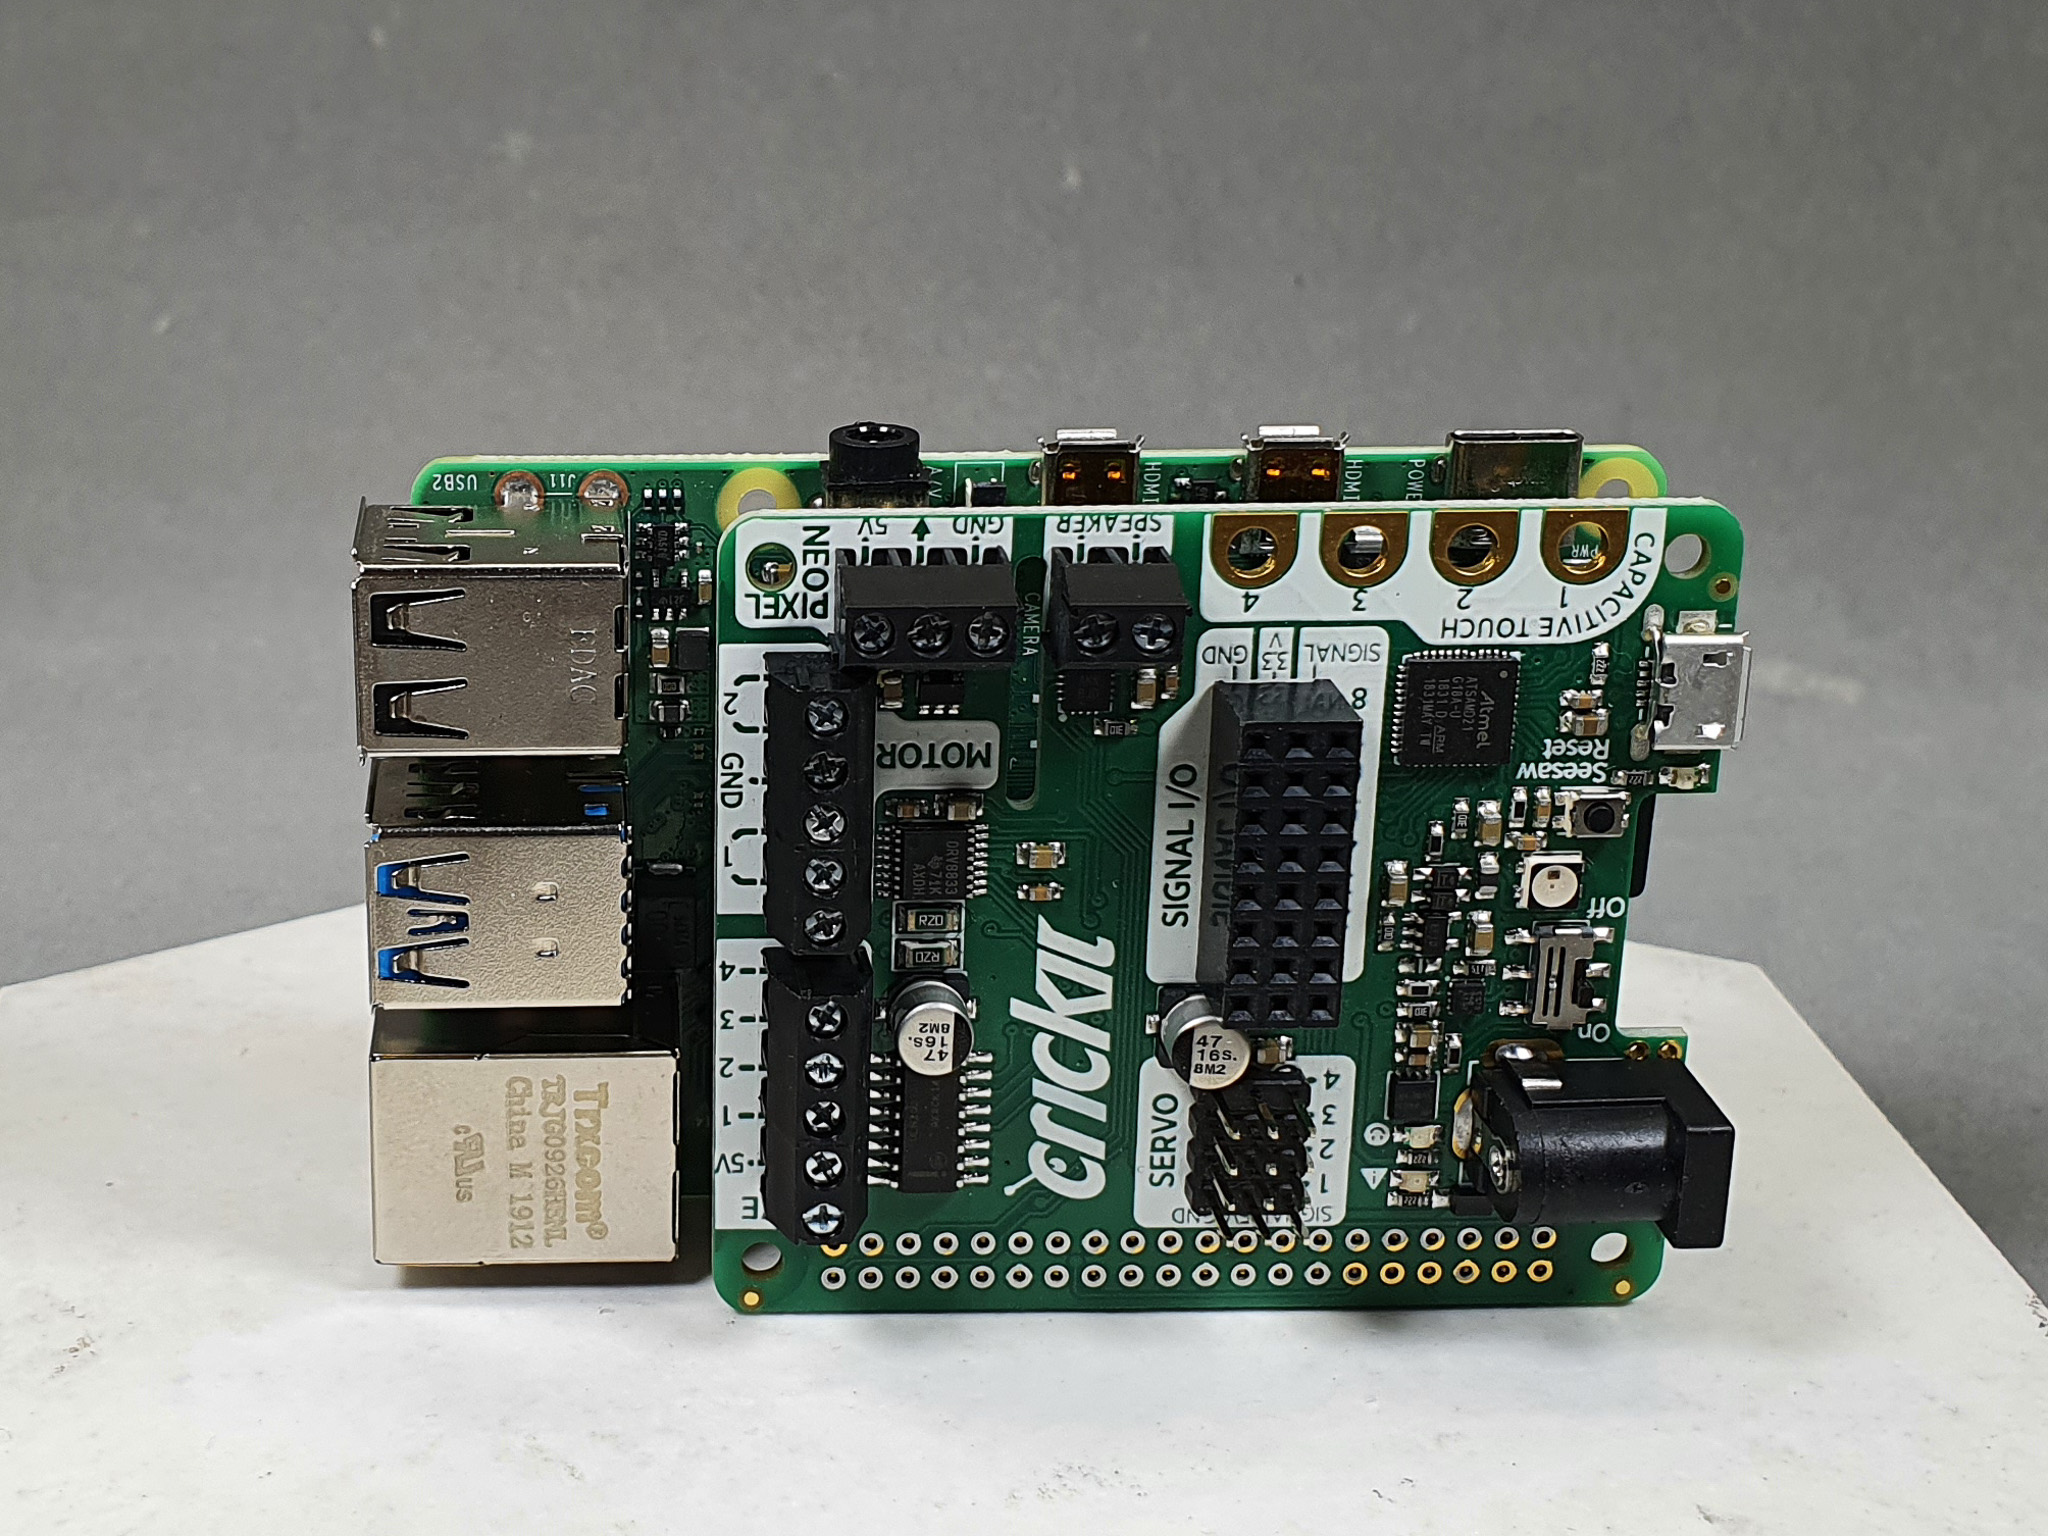
Let’s look at the Crickit for RPI. Although it’s a rectangle opposed to an octagon, the RPI Crickit shares the same features. These features include a 5V Neopixel hook up, servo pwm pins, 2 motor controllers, 3.3v I/O and a speaker port, as highlights. The appealing part is that all these features are controlled via I2C.
What's IC2?
I2C pronounced I-squared-C allows slower speed components to share the same connections. Using I2C we only need 2 data lines from the RPI. While seemingly complicated, I2C actually simplifies wiring and coding. While I2C isn’t the fastest protocol, for most Crickit related applications it is fast enough. The Crickit handles the “low-level” aspects of robotics or actuation so the processing power of the PI can be used elsewhere. Imagine you wanted to create an interactive game. The game would have lights, sounds, actuators, maybe motors. The Crickit controls those things while the Pi can focus on something else, like face recognition or score-keeping on a screen.
Concerns:
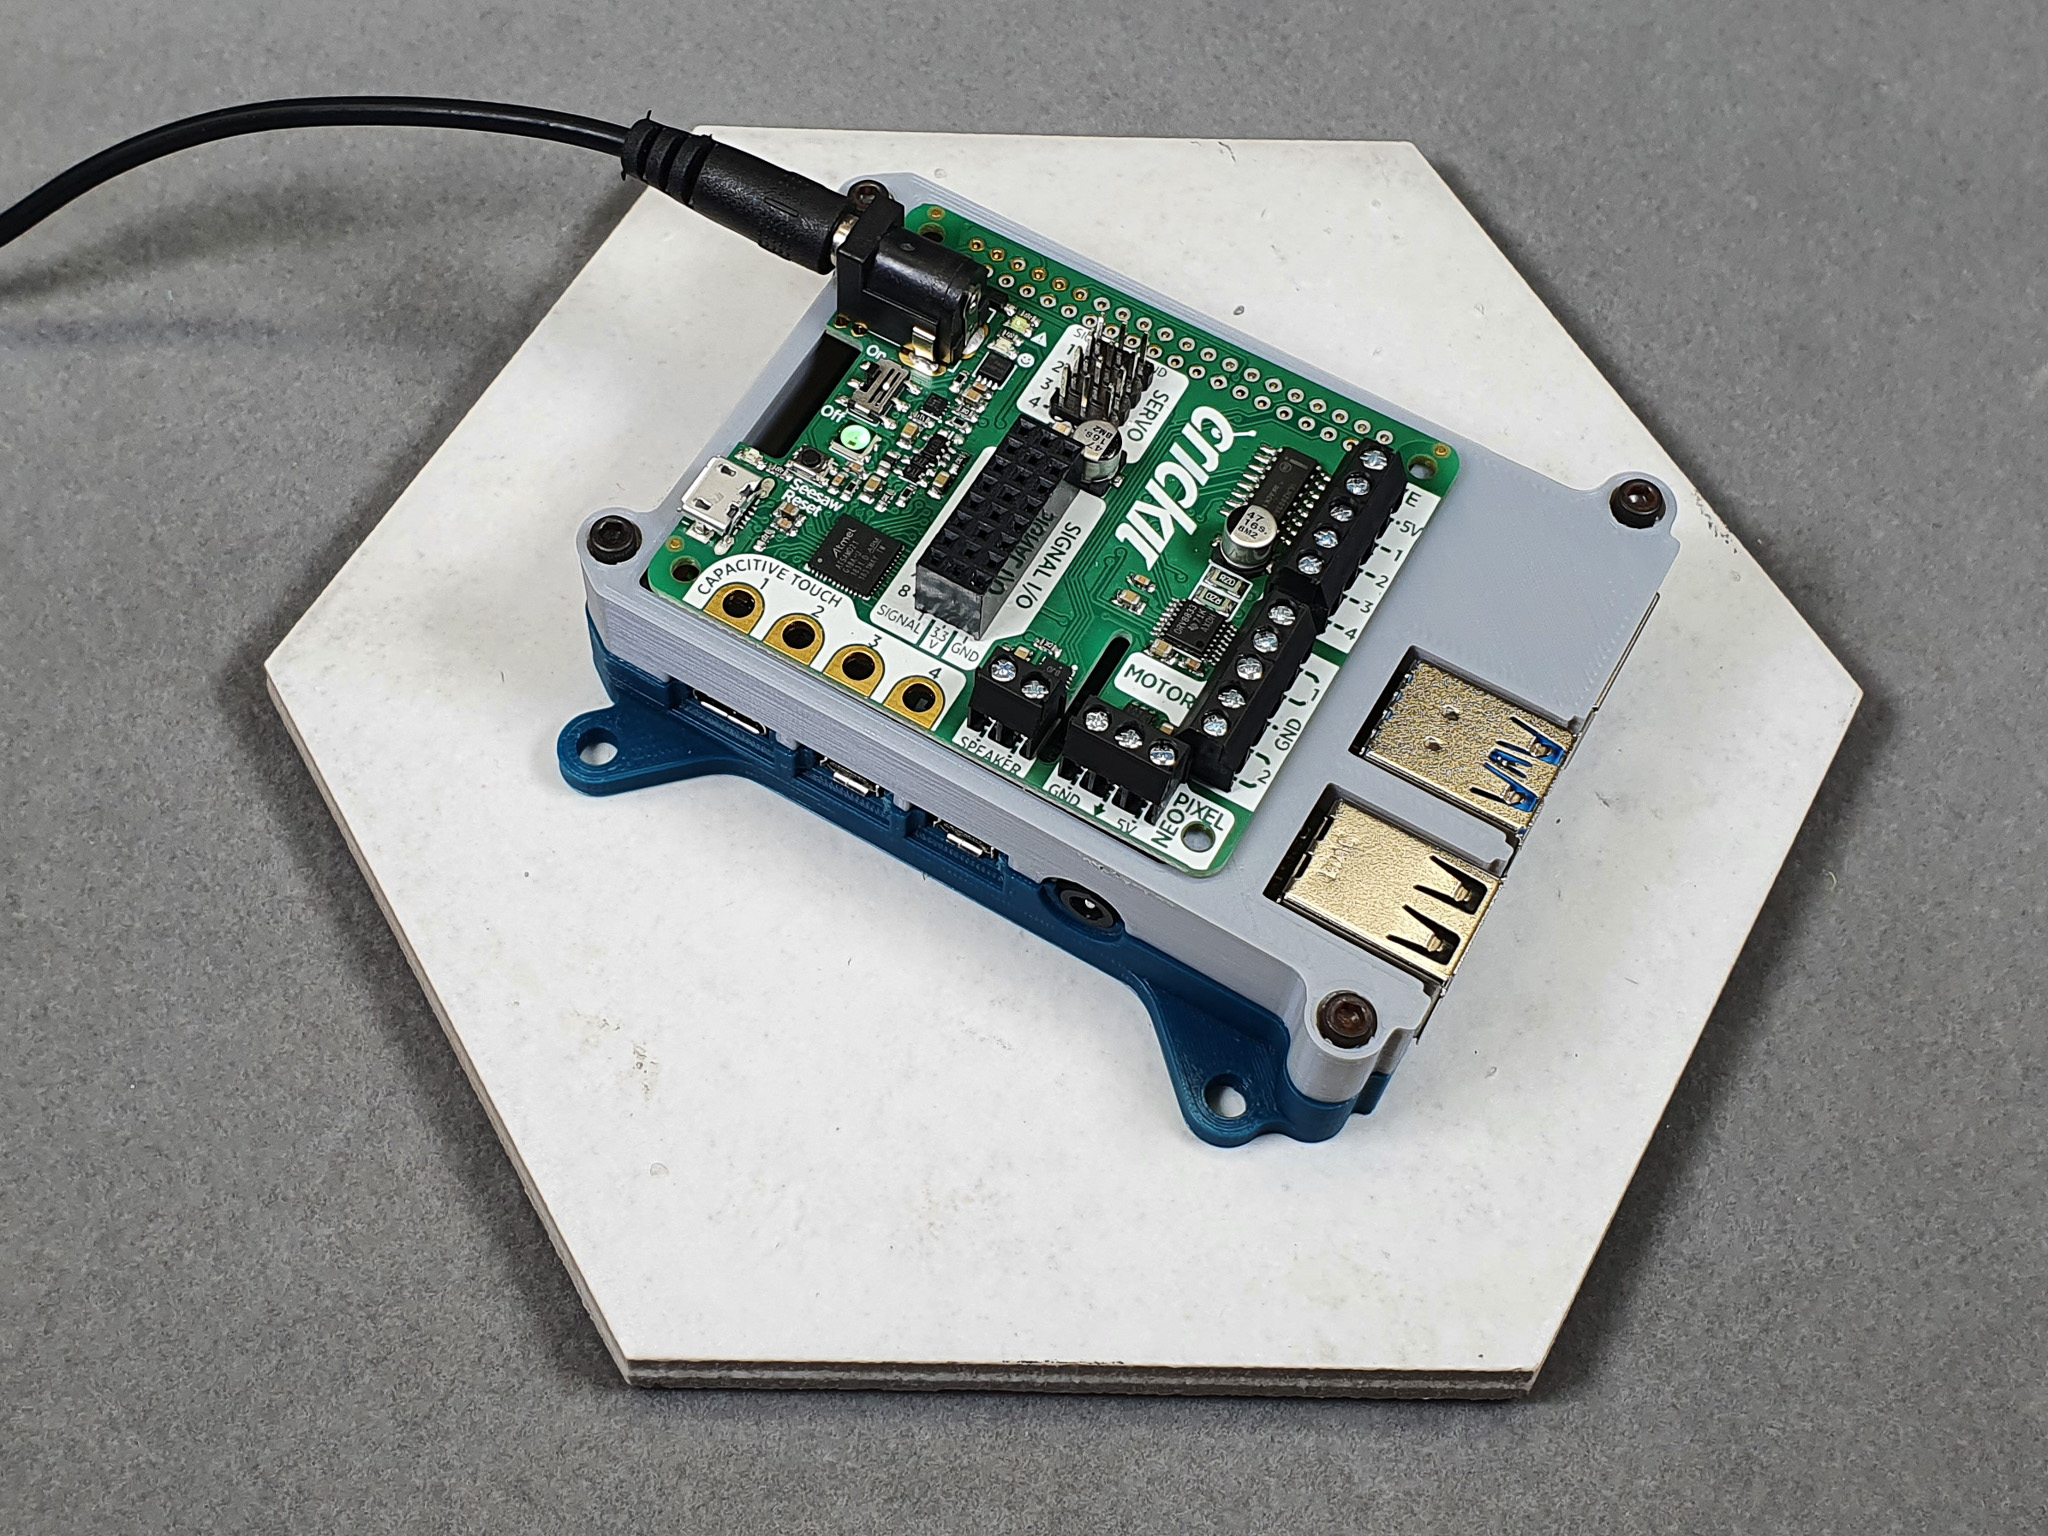
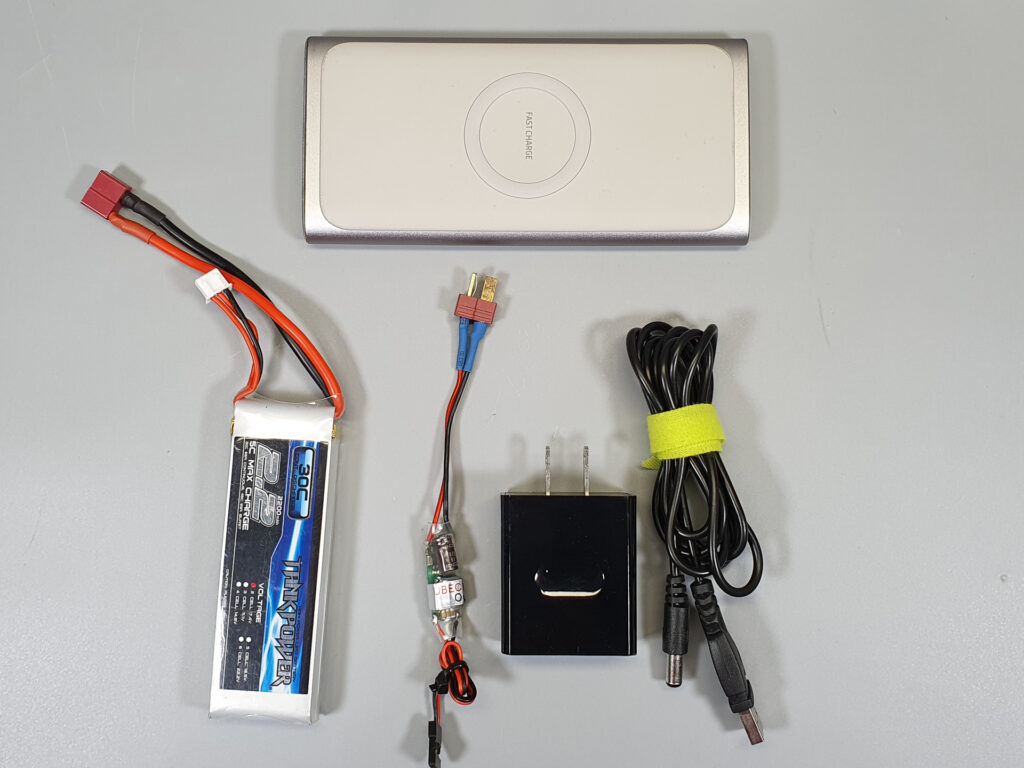
One of my concerns with the Crickit boards are the power options. I’d rather not use a barrel jack. I wish there was a more robust power option. I understand that the Crickit may be designed for smaller robots or projects. However, I often utilize LiPo or Li Ion batteries in my projects and am really wishing for something that is a bit more plug-and-play. Adafruit doesn’t recommend using lipos or lions with a BEC (Battery Eliminator Circuit) or regulator which makes our mobile power options limited. I will try these options anyway and I’ll update you with my findings.
If paired with the RPI 4 you may run into some power constraints because the PI 4 can use a lot of power. A USB battery bank may not provide the needed current to power the PI. I recommend you adhere to Adafruits guidelines and stick with AA batteries. I use a USB to barrel jack cable and a RPI4 4 amp compatible USB charger.
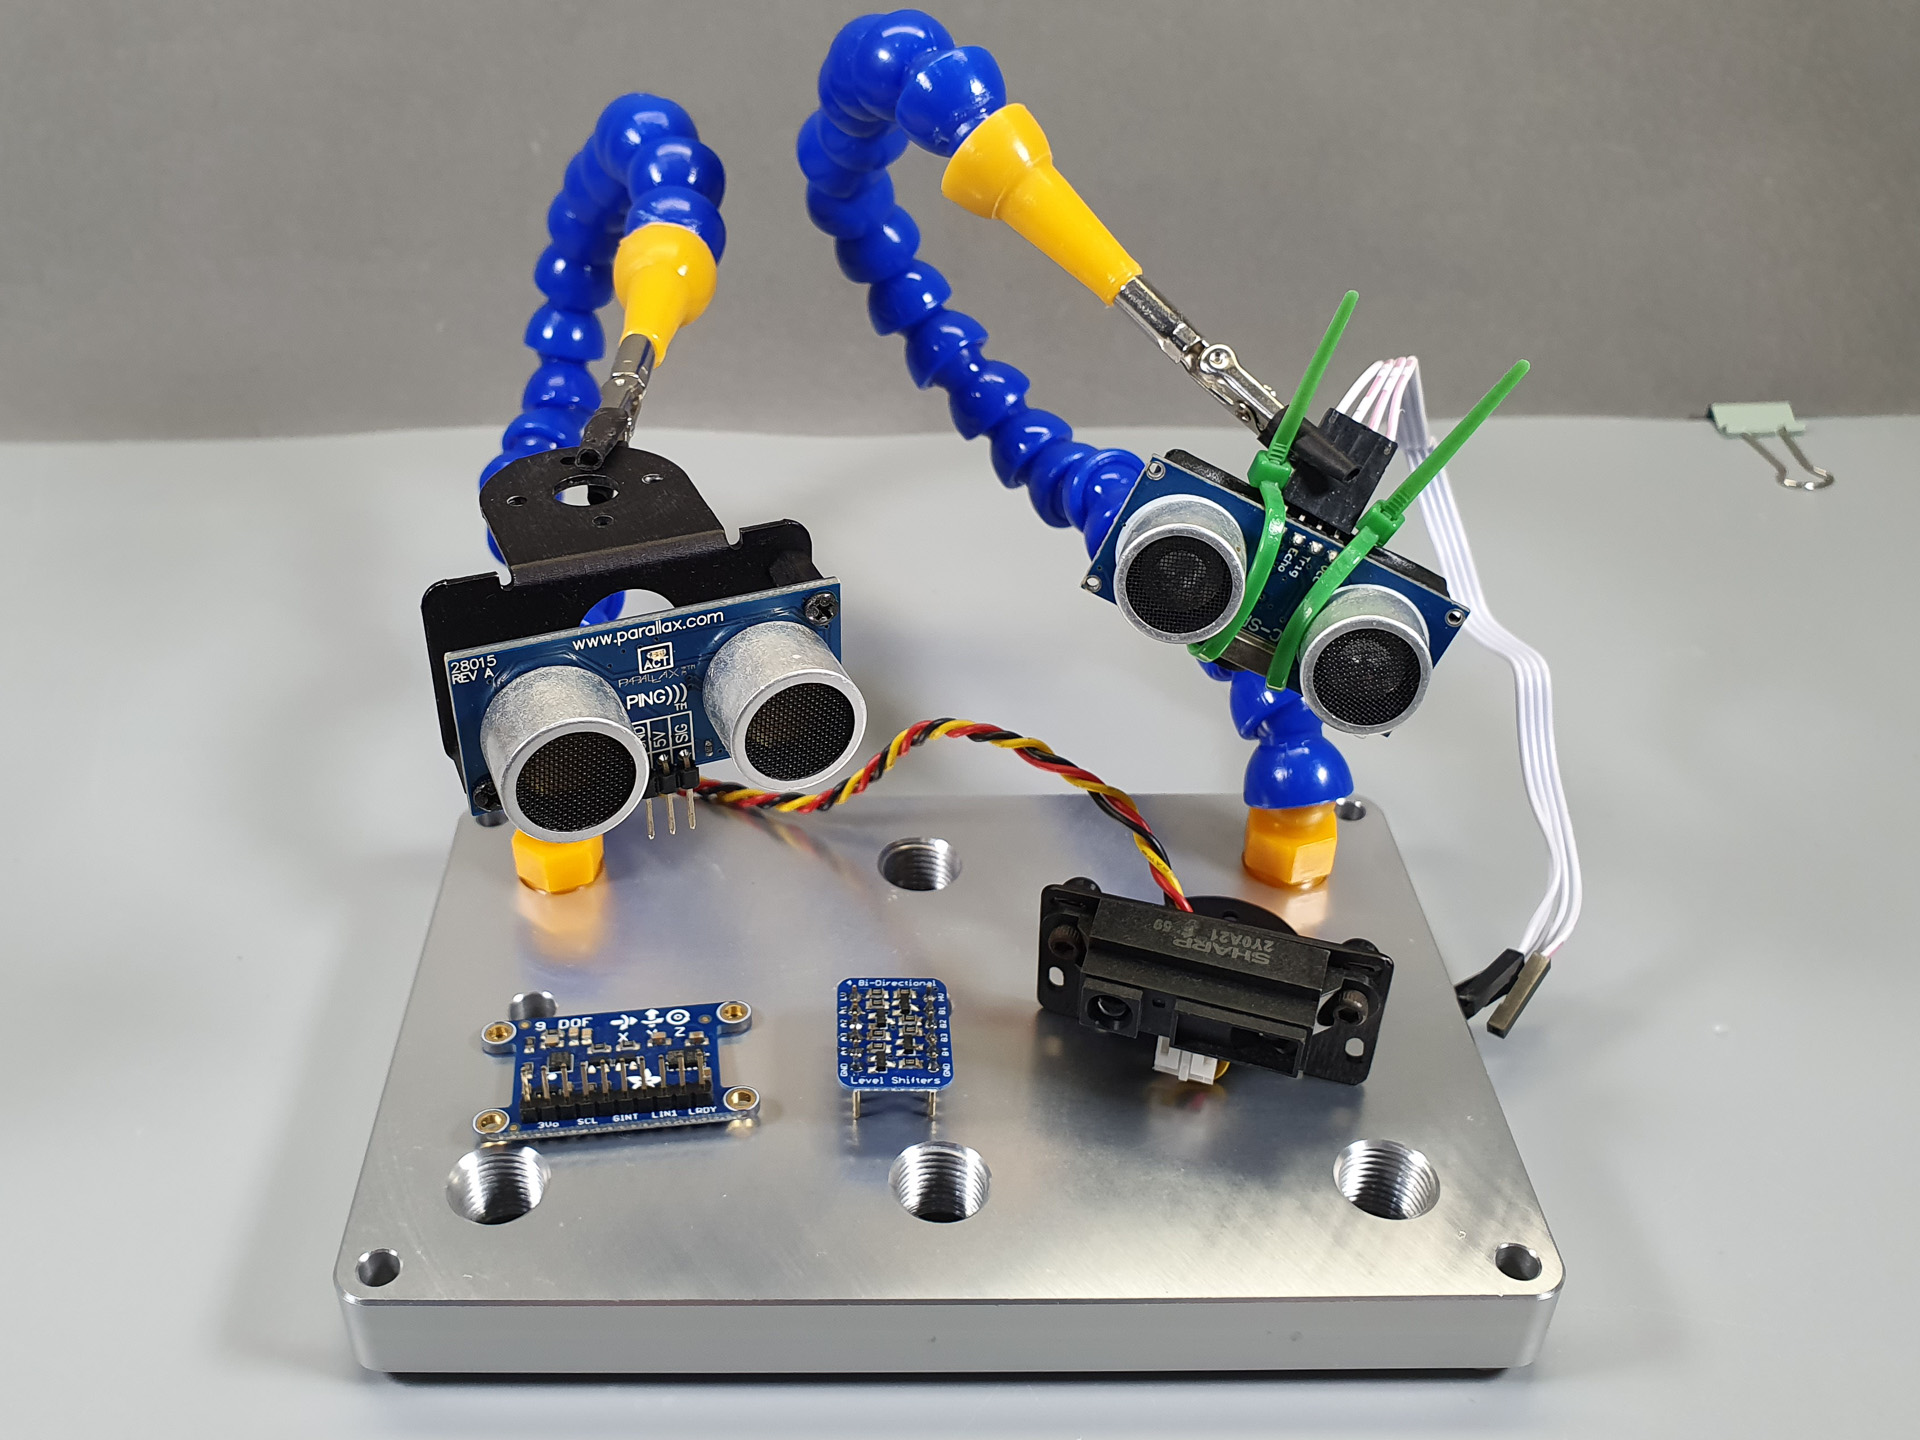
Another concern is it’s not directly compatible with Parallax PING or HC-SR04 5-volt sensors. Luckily, there are plenty of 3.3 volt sensors on the market or you could use a level shifter.
The price may be the deciding factor for many, the RPI 4 and the Crickit with accessories will be more than $100. Makers or students on a tight budget may shy away from this. I’ve been looking for a board like this for sometime and it’s the best option that I’ve found, so I think it’s priced well.
Conclusion:
I really like the Crickit boards because they solve most of the complexities of building robots. Almost every robot or maker project will need a motor controller or servo controller and I/O. Using just a MCU or SBC by itself building a robot would be difficult. Although, The Crickit boards can add cost to a project, I think they are well worth it.
There are boards for several popular MCU/SBC allows students/learners to be flexible in their learning path. There may be other boards that may do what the Crickit can do for cheaper, but they aren’t supported by the Adafruit community. When my students begin to explore Micro Bit I will purchase several Crickits for them to experiment with. Check back soon, as I will continue to write about projects built with Crickit. If you want to see a particular project comment below.
Resources and External Links:
Adafruit Crickit boards: https://www.adafruit.com/category/972
Adafruit RPI Crickit Hat: https://www.adafruit.com/product/3957
3D Printed Modified Case: https://www.thingiverse.com/thing:3714695